4. SSH Bastion#
4.1. Introduction#
We try to reduce the public attack surface of the infrastructure we manage as much as possible. One of the way we adopt to achieve this goal, is to not expose SSH servers publicly, except for a single host that can be used as pivoting point to reach the rest of the infrastructure.
This host is what we call a bastion host or a jumphost. Techically it is a machine with an SSH server that is allowed to connect to other machines by the firewall (in this case, AWS Security Groups).
Note
This is a very simple way to provide an additional layer of security. There are additional actions that can be taken to make the setup more secure; for example, allowing access to the bastion host only from a well-defined set of IPs, or via a VPN.
4.2. Adding a new Cloudspace to the ansible setup#
Add the new stack to the aldryn.cfg file:
stacks:
   [...]
   divio-hackathon:
      region: eu-central-1
      playbook: platform/app-controller.yml
      profile: divio-hackathon
      provider: aws
      bastion: ubuntu@bastion.hackathon-XX.aldryn.net
Create a new Ansible inventory file for the Cloudspace in
platform/inventory/divio-hackathon:
#!/bin/sh
ddt inventory $(basename "$0")
And make it executable:
chmod +x platform/inventory/divio-hackathon
Add configuration options for the new stack to
platform/group_vars/divio-hackathon/defaults:
# 0. Region-wide settings
stack_class: appctl
stack_instance: hackathon
vpc_cidr_block: 10.<subnet>.0.0/16
base_domain: hackathon-XX.aldryn.net
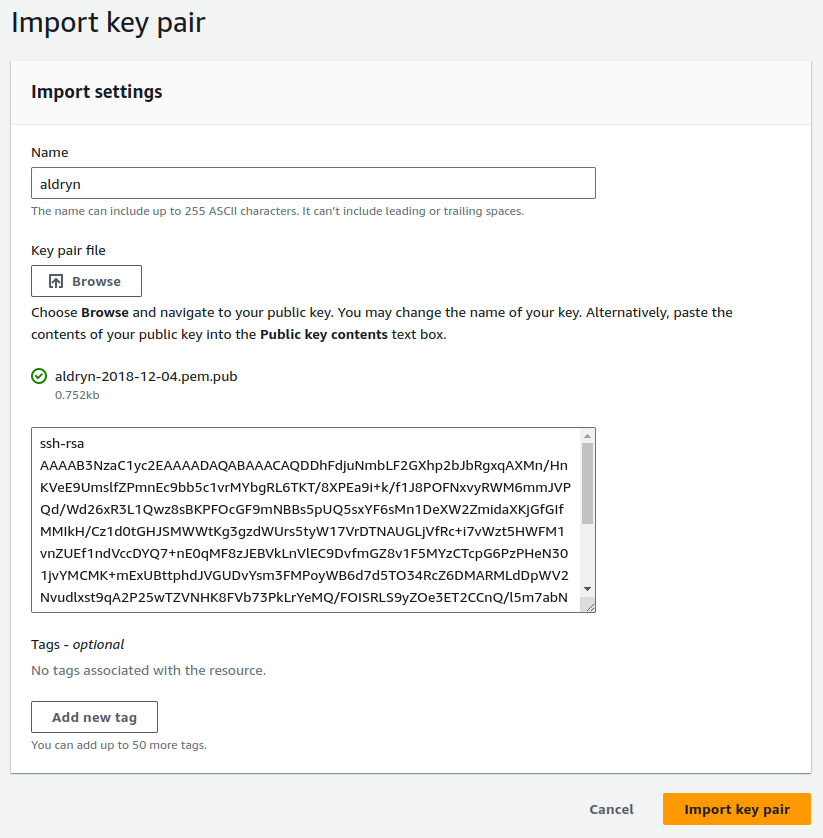
4.3. Import the SSH key#
Navigate to the EC2 dashboard and then click on Key Pairs in the left sidebar. On the upper right corner, you can select Import key pair from the Actions dropdown.
Take a look at the aldryn.cfg file and use the value of the key_name
entry as Name, and select the file pointed to by the key_path entry for
the Key pair file.
Alternatively, you can run the following command from the shell:
aws --profile divio-hackathon ec2 import-key-pair \
   --key-name "aldryn" \
   --public-key-material fileb://keys/aldryn-2018-12-04.pem.pub
4.4. Provisioning the first virtual machine#
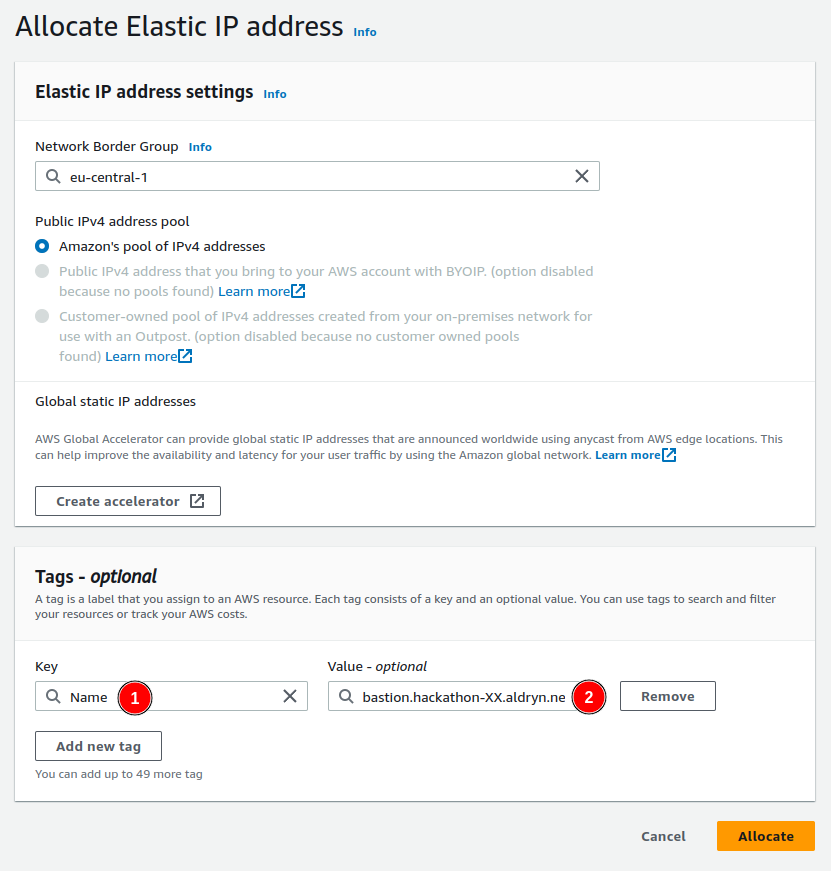
Our bastion host has to be reachable from the outside. As such we need to know how to find it. To achieve this, we set up a static IP address that can be kept even if we cycle the host it is currently attached to.
To do so, we first create an Elastic IP via the EC2 or VPC dashboards. Click on Elastic IPs in the left sidebar and then on Allocate Elastic IP address. Use the Name tag to store the domain name that will point to this IP:
Alternatively, you can run the following command from the shell:
aws --profile divio-hackathon ec2 allocate-address \
   --domain vpc \
   --tag-specification 'ResourceType=elastic-ip,Tags=[{Key=Name,Value=bastion.hackathon-XX.aldryn.net}]'
Using the domain name as value for the name of the Elastic IP is just a convention used by our tooling to retrieve the correct IPs. We still need to configure the appropriate DNS records to point to the newly allocated IP address.
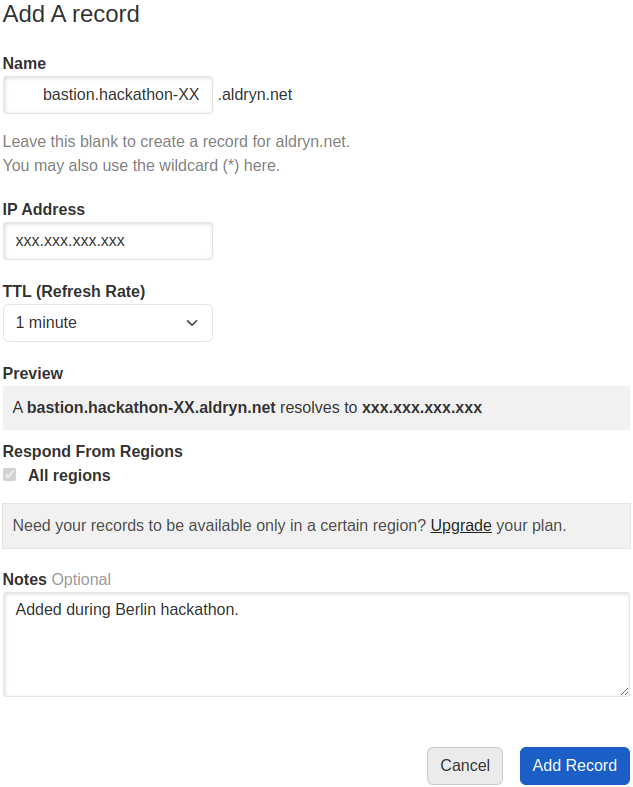
For aldryn.net this can be done from the zone on DNSimple. You can log into
DNSimple with the credentials stored on 1Password, and then add an A
record as shown below:
We are now ready to provision a new virtual machine for the bastion and to
configure it appropriately. You can use ddt (the Divio Deployment Toolkit)
to do so with a single command:
ddt provision --deploy divio-hackathon bastion
4.5. SSH’ing into the bastion#
Once the provisioning and deployment steps have completed successfully, you can SSH into your new bastion host by issuing a standard SSH command:
ssh bastion.hackathon-XX.aldryn.net
We are now connected to the bastion host running inside the VPC. As there is
not much we can do with just a bastion host, in the next chapter we will look
into how to set up the application controller, but before let’s finalize the
SSH setup by adding the following lines to the .etc/ssh/ssh_config file so
that our SSH client knows how to connect to hosts inside this Cloudspace:
Host divio-hackathon-*
   ProxyCommand ssh ubuntu@bastion.hackathon-XX.aldryn.net nc %h.internal 22